Sunday, February 7, 2016

Shakshuka and Yummy Salads-Atkins Week One Menu

Cooking is a labor of love. It is not for the faint of heart. That's what I tell myself as I patiently snip canned whole tomatoes into a steaming pot of shakshuka. Why am I doing this again? Why couldn't I have just chopped them on the cutting board like the recipe directed? Or why didn't I just cut corners even further and get diced tomatoes? Even still, the labor of love goes beyond painstakingly chopping and prepping. It's in the menu planning and the devoted grocery shopping at 1,345 grocery stores (I know). It's in the way my back muscles tense when I've been at the stove or sink for long moments, stirring sauces or cleaning dishes. It's in rising early to wash, scrub, and chop 6 jumbo sweet potatoes so I can serve my visiting family a yummy, filling breakfast. It's in the tedious packing up of leftovers and constant inventory of fridge and pantry...

And yet I would not have it any other way. There's such joy that comes from exploring new ground in cooking, or seeing a loved one smile when they taste the first bite of a new dish. And I am so thankful for the abundance of flavors, techniques, and recipes in existence. As we embarked on Atkins this week I found this to be true. Thanks to Ms. Google and my cookbooks our first week back on Atkins induction was exciting and encouraging. This is what we had:

Blackened Shrimp Salad
Breakfast: Cheesy spinach scrambled eggs with bacon and then later in the week, Shakshuka by Cafe Delites--awesome blog by an inspiring blogger!

Snacks: Sugar-free chocolate and vanilla pudding, ham and cheese roll-ups, zucchini and red pepper sticks

Lunch: Southwest Chicken Salad, Blackened Shrimp and Asparagus Salad

Dinner: Thai Basil Chicken and Cauliflower "Rice", Daisy Martinez' Pork Loin and modified Boricua Slaw (from her cookbook Morning, Noon and Night), Hot Wings with celery sticks and Cheesy Cauliflower Tots

I am looking forward to a new week! All new recipes and dishes, right down to snacks! I was terrible with pictures this week but I will be snapping photos all week long! I'll post an update next week!

xoxo,

Lex

Saturday, February 6, 2016

Easy Low-Carb Puerto Rican Pollo Fricasse

One of my favorite recipes growing up was pollo fricasse-succulent dark chicken pieces and tender, starchy potatoes in a savory orange-golden sofrito sauce. It was almost indescribable. The best part was sopping up the sauce with fluffy grains of white rice. Oh boy. How I miss those potatoes and that sauce! But with Atkins, for the first several phases you must forego grains and high-carb foods. I swapped out the potatoes for kale in my recipe. It's chewiness gives the stew more substance, and is a great stand-in. And you can never eat too many greens! Typically you would make your own sofrito in this recipe, but using the frozen sofrito is a welcome shortcut. 

Pollo Fricasse 
Serves 4-5
3 lbs chicken drumsticks
1 14 oz container Goya Sofrito (the frozen, not canned kind), thawed
1 10 oz package chopped kale
2 Tbsp canola oil (or coconut oil)
1 cup water or chicken broth
Salt and pepper to taste

~ Sprinkle both sides of chicken drumsticks liberally with salt and pepper. 
~  In a large, wide dutch oven or braising pot, heat the oil over medium heat. When hot and shimmering, add the chicken. Brown on each side for about 5 minutes. 
~ Create a well with the chicken and pour sofrito in the center. Using a wooden spoon, stir the sofrito for a minute or two,scraping the brown bits off of the bottom of the pan. This'll help create extra flavor!
~ Gently toss chicken in the sofrito. Add 1 cup water or chicken broth and stir gently. 
~ Bring to a boil. Reduce heat to low and cover with lid. Simmer 30 minutes.  
~ Add kale, sprinkle in more salt and pepper, and stir gently. Replace lid and cook 10 minutes more. 

Serve over rice if you have the luxury, or with a side salad like I did! :-)

xoxo,

Lex


Friday, March 6, 2015

Chicken Soup for the Numb


Golly! Time flies! Already it's Friday evening and the weekend beckons!

My poor roomie went to the dentist today. She got a deep cleaning, and as a result, her poor chin and cheeks were numb for most of the day. The numbness has just about worn off, but she is limited to eating soft foods for 24-48 hours. Time to rework my dinner plans! Instead of the Chicken Margherita I was going to make, I've opted for a simple chicken soup, which I'm calling Chicken Soup for the Numb. ;-) There's nothing like sipping on hot, flavorful broth chock-full of tender veggies and hearty chicken. Especially when there's winter weather and, oh yeah--when your mouth is numb!!

Chicken Soup for the Numb
Serves 4 (2-cups each) or 8 (1 cup each)
4 small chicken breasts
3 tbsp coconut oil (I use refined as I don't like the strong coconut flavor in unrefined)
1 large onion, chopped
1 large zucchini, chopped
1.5 cups chopped carrots
2 garlic cloves, chopped
2-32 oz. containers low-sodium chicken broth
3/4 t ground black pepper
1/4 t sea salt
1/2 t onion powder
1/2 t garlic powder
1 tbsp dried parsley
1 dried bay leaf
1/2 t Sazon seasoning (can be found in the Latin aisle of your grocery store)

~ In a large stock pot, heat coconut oil over medium heat. While heating, pat the chicken breasts dry and sprinkle liberally with salt and pepper.
~ Brown chicken for abour 5 minutes on each side. Remove to a plate. Toss onions and carrots into pot. Stir frequently, cooking for 5 minutes until just softening and onions are translucent. 
~ Add in garlic and stir for 1 minute. Sprinkle veggies with seasonings and stir to lightly toast them.
~ Place chicken breasts on top of veggies and pour your chicken broth over the chicken breasts. Bring to a boil then simmer on med-low heat for 30 minutes. Skim fat off top of broth as soup cooks.
~ Remove chicken from pot onto a cutting board or plate. Using two forks, pull chicken apart so it is shredded. 
~ Add chicken back to pot and heat on low 10 minutes more. 


Enjoy!! 

xoxo,

Lexy

Tuesday, March 3, 2015

DIY Decoupage Coasters


Finally, another post about crafting! :-)

To thank a lovely friend of mine for donating to my Go Fund Me campaign, I wanted to make something special for her. I had a few ideas, but finally settled on decoupage coasters. I got the idea from a GeicoNow magazine I occasionally receive, believe it or not (firstly, who knew Geico had a magazine, and secondly, that it'd offer craft projects!), and hurried to Michael's and Floor and Decor to get the materials. 


This is my first time decoupaging anything, and it seems that several things are key to good decoupaging- some sort of paper or fabric picture/design that will be pasted onto the solid object, a solid object, decoupage glue, and acrylic sealer. I knew immediately that I wanted to use scrapbook paper. Originally I wanted to find scrapbook paper with cats on it, but hunting through the scrap-booking aisle at Micheal's, I couldn't find anything close. I was so disappointed, but finally settled on the black and white paw-print paper that I did see. After going back and forth with myself I kept it and decided that it actually serves as a good symbol for both cats and dogs, and will represent Leslie's love and protection of the felines in her life. Also, the picture that I am using for the Go Fund Me campaign is a pawprint, so I think it works.  The scrapbook paper was fairly inexpensive, and I just needed two sheets to make 4 coasters. 

The square ceramic tiles I used were about 4.25 x 4.25 inches, a little bigger than I was looking for, but they did the job. They were very inexpensive as well, $.12 each, so I bought 16 so I could make other designs later. I actually loved walking through Floor and Decor. I know nothing about tile or wood or house design, but I know I loved the feeling of inspiration that filled me as I walked through the aisles. I'll be back!


I went with Martha Stewart Decoupage Glue and Sealer as my adhesive medium. From what I've read online, other people swear by Mod Podge but I liked the price point of this one ($3.99 for 4 oz) and that it is a glue and sealer in one. 


I had the most DIFFICULT time trying to find waterpoof acrylic sealer, and I couldn't decide between two options so bought them both! FolkArt Clearcote Extra Thick Glaze and Americana Acrylic Sealer/Finisher Gloss. The FolkArt was on clearance for $3.99, but the Americana was regularly priced at $6.99. 


On to the project! 


Materials:

4 square ceramic tiles (mine were 4.25 x 4.25 inches)
scrapbook paper (I used two sheets of 12 x 12 inch scrapbook paper)
Pencil
Exacto knife
Cutting board 
Tape measure or Ruler
Decoupage Glue (I used Martha Stewart Decoupage Glue and Sealer)
Acrylic Sealer (I used Americana Acrylic Sealer/Finisher Gloss)
Additional paintbrush with flat bristles (optional)
Old newspaper to cover your workstation
Package of cork tiles  (I was going to get Artminds Cork Tiles but you can use a sheet of cork and cut it to fit the bottom of your tiles if needed)
Hot glue or Wood glue (I used Elmer's Wood Glue)
Popsicle stick (or can use ruler or something with a flat edge)
Cooling rack (should just be used for craft items to prevent cross contamination)


How-to:

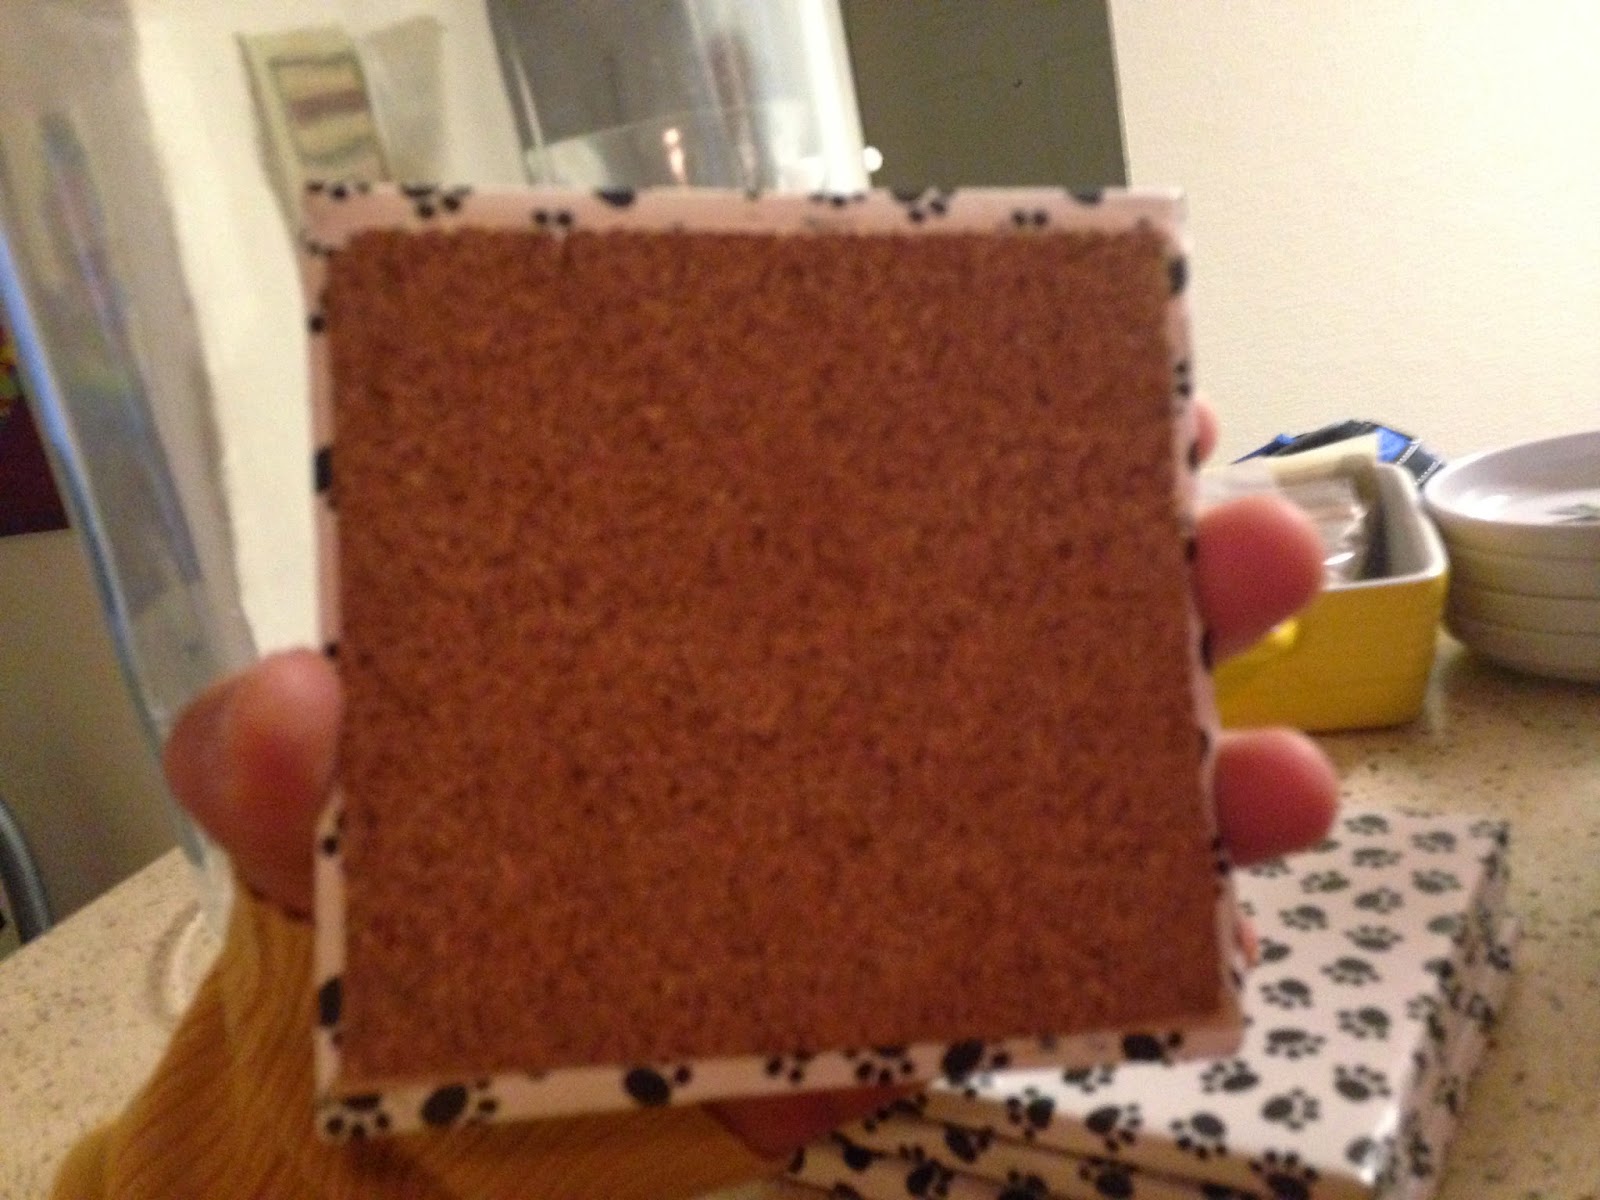
~ Cut your scrapbook paper into squares that are one inch longer than your tile on each side. For me, it was easier to do this using a pencil and ruler and then using the exacto knife to cut out the squares on my cutting board.
~ Using the brush that comes with the decoupage glue, or your own brush, spread decoupage glue all over the tile. I found it easier to pick up a small glob of glue and spread it on each third of the tile. One stroke of glue wasn't enough to cover the whole tile.
~ Spread decoupage glue on the back of the scrapbook paper (i.e., the design is facing down). Center the paper on the tile and press down. Then use a popsicle stick or a small, flat object to smooth out any air bubbles, working from left to right. I actually used the small rectangular box that my Corksickle came in, and it did the job perfectly. No warped paper, no air bubbles, and I was left with a very clean surface. I would start in the middle, press down the edge of the box, and press from left to right to smooth the surface. Then I would repeat that a couple of times to be sure the paper was smooth.
~Fold the edges of the scrapbook paper over the edges of the tile. The instructions called for hot gluing the edges, which is a lot less messy than using the decoupage glue to hold them down. I didn't have a hot glue gun, so I just used the decoupage glue.
~Spread a thin layer of decoupage glue onto the entire surface area of your tile. This will help adhere and set the scrapbook paper onto the tile.
~Let the tiles dry. It will take about an hour for the tiles to dry almost completely. After drying, apply another coat of the decoupage glue if you are using the Martha Stewart Decoupage Glue and Sealer. As indicated on the back of the bottle, the first layer acts as an adhesive, and the second as a sealer. If looking for additional shine, continue to next step.
~ Lightly spray with acrylic sealer to set the design and add sheen. Let completely dry. If desired, you can spray additional coats of sealer on to get more sheen, letting dry completely between coats. Please be careful when spraying the sealer. I sprayed mine then opened the patio door and turn on the ceiling fan to ventilate the area. You don't want to breathe in those fumes!
~Glue cork onto the bottom of the tiles and let dry completely. I suggest drying on a wire rack. Drying on paper might mean bits of paper get stuck to the bottom of your coaster.


Voila! You've made your own decoupage coasters!

Did you make some coasters? Was it easy? Hard? Tell me all about it!

xoxo

~Lexy

Friday, February 27, 2015

February Foodie Pen Pal Package


Earlier this week freezing rain and sleet wreaked havoc on DFW and work was called off Monday and Tuesday...

What do you do when you've been iced in for two days and have nothing to do?

You stroll over to your apartment office to see if your foodie pen pal package made it, that's what!! 

My foodie pen pal this month was Shanoya from San Bernardino, California and she had me in a tizzy with all the AMAZING items she sent me!


Meiji Chocorooms


-Meiji Chocorooms- Tiny little cracker sticks with a chocolate mushroom cap, with two layers of chocolate--milk chocolate and dark chocolate. So yummy, very unique and complex flavor.


Slim Jim Bacon Jerky


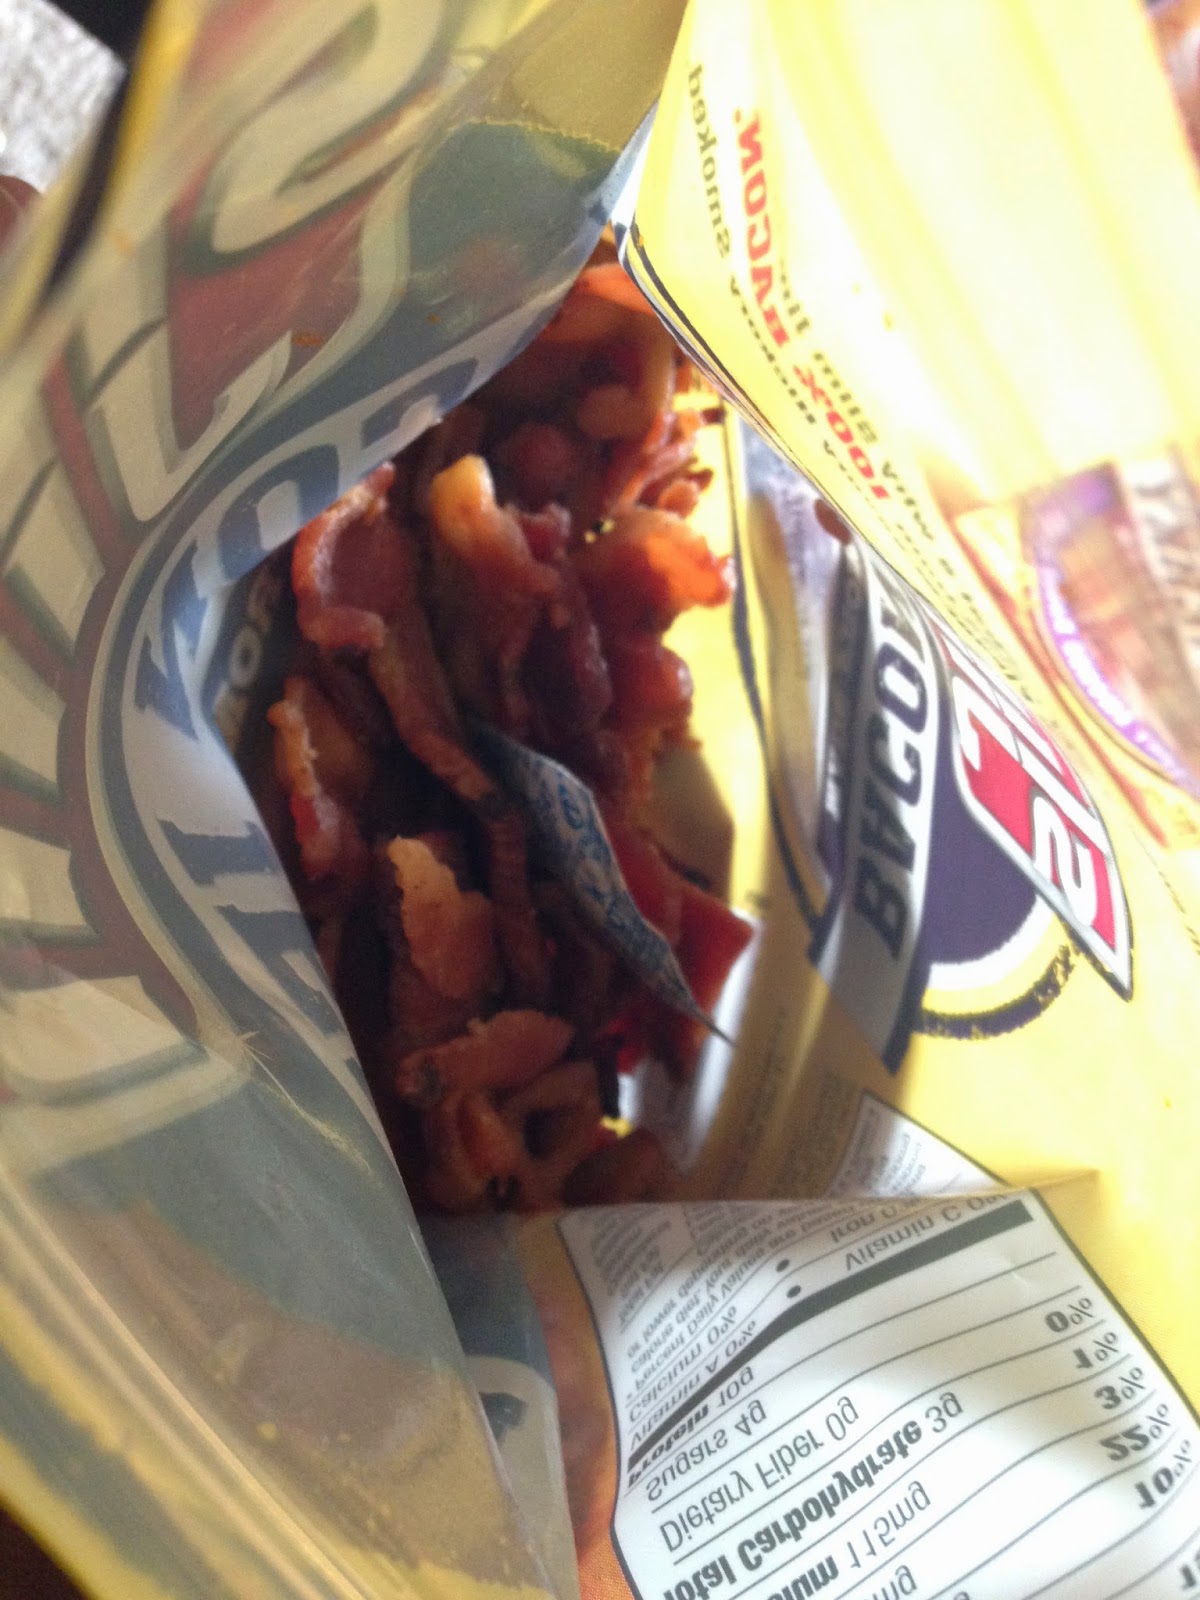
-Slim Jim Bacon Jerky- Who knew that bacon jerky existed?! Not I! But Slim Jim has a line of bacon jerky that is delicious! And there are only 7 ingredients! The first bite was chewy, smoky, and tasted a little like coffee, but I think that's from the smokiness of the bacon, lol! I actually foresee using this in a future recipe for Bacon-Chocolate ice cream...

-Amella Caramels, Agave Gray Sea Salt and Dark Chocolate- these are the sexiest chocolates I have EVER tasted. I'm almost blushing thinking about it. Rich, smooth chocolate, and buttery, gooey caramel accented with gray sea salt. I am definitely going to get my hands on more of these caramels...

- Ferrero Rocher Hazelnut Chocolates- these nutty, chocolaty bites are bitty homages to the hazelnut!!!

- Fruity Mango Chutney with Black Pepper Dippers- Shanoya got these from a snack box she gets monthly, and graciously included them in my foodie package! The dippers are crispy little cracker sticks, and you dip them in a mango chutney. I liked the crispy dippers, but the mango chutney might take some getting used to! It was very gelatinous and sweet. I love that the snack channeled warm, spicy Indian flavors for me. I am so glad I tried it!


Daelman Caramel Wafers
- Daelmans Caramel Wafers- this is a snack from Holland, and based on the picture of a steaming cup of java on the back wrapper, would be good with coffee! We ate these straight from the package. They are chewy, with a light caramel flavor.


Pan-fried chicken with Hibachi Seasoning
- Simply Asia Sweet and Smoky Hibachi seasoning- this smells so pungent, sweet, and spicy. It imparts a smoky flavor to your dish, almost like your dish has been grilled or roasted which is lovely. I sprinkled the seasoning on chicken breasts and pan-fried them in a little sesame oil and olive oil, and they turned out so tasty!

- Barney Butter Almond Butter- this is a cute little single serving pack of butter. I spread this on a warmed flour tortilla and drizzled with orange blossom honey-yummy snack!

- Sweet Heart Raw Chia Seeds- Love chia seeds, they are so good for your health and thrilled to see these in my package! I will probably sprinkle these on a salad or blend into a smoothie.

Now wasn't this an awesome package?! Shanoya, thank you so much for making my day!!!

xoxo,

~Lexy

Thursday, November 27, 2014

Thanksgiving Eats!

Happy Thanksgiving! It's super late, and it's been a while, but I wanted to post about my Thanksgiving eats.

Paleo Thanksgiving!
Kat and I had a Paleo Thanksgiving lunch on Wednesday. That was thanksgiving one. :-p. I made the following recipes:

Pecan Pie with Bacon Crust- this turned out decent. I loved that the list of ingredients was straightforward, and there wasn't too much sugar in the recipe. The drizzle also turned out better than I thought, especially because I only like the taste of coconut milk in certain things. I would give this recipe a three.


Roasted Butternut Squash with Pecan Ginger Glaze- LOVED this recipe, and I could make it again and again. I actually used sweet potatoes instead of the butternut squash, and it was so good! The syrup you toss the squash in is warm, sweet, and complex. So good and perfect for a fall spread!

Cheesy Mashed Yucca- this recipe didn't actually taste cheesy at all, but  I still loved it. Mashed yucca is so much thicker and sticks to your ribs more than mashed cauliflower does. I welcomed the change and will be making mashed yucca in the future! I got a 4 lb bag of frozen yucca from the grocery store (check the latin section of the frozen foods to see if you can find it at your grocery store!) and just used 3/4 of the bag for this recipe. Very easy to make!

Paleo Gravy and Paleo Stuffing from Brittany Angell's free holiday ebook-my gravy looked a lot grittier than the picture in the ebook, but the taste was phenomenal. I loved it on my mashed yucca! The paleo stuffing was good. I halved the recipe but ended up keeping the amount of Italian sausage the same just because we love Italian sausage that much! Was light in flavor, but good.

I also made cranberry sauce from scratch and a nonalcoholic sangria, but those were just okay. :-/

Wednesday night we went to my co-worker's turkey and tequila party. Such a lovely concept! We brought a turkey and they fried it so we didn't have to cook it today! They used a cajun injector too, which was so yummy! There were so many yummy finger foods to try! Deer sausage with pineapple bites, mini ham sandwiches with mustard, cheddar Bisquick sausage bites, and they had a little spread of their own with fried and roast turkey, green beans (I brought those), mac and cheese, a snicker doodle apple pie bake, thumbprint cookies, and lots of libations-that was Thanksgiving 2! :-)

Thanksgiving 3!
Today we spent Thanksgiving with Kat's family. I guess that's technically Thanksgiving 3!  We were due at 12:30 at her sister's house, but alas, cp time got the best of us and we got there at about 1:10. Not too bad for us, lol. I made southern mac and cheese for the potluck. I used Sweetie Pie's mac and cheese recipe. There was so much cheese, I had to make some modifications. I followed the recipe, the only tweaks I made were I used an 8 oz block of cheddar and 8 oz block colby jack and 4 tbsp of butter-and this was even after doubling the recipe! In the future I'll be sure I cut the velveeta and butter into tinier cubes so that they melt into the sauce a lot better. It was still really good. Mmmm!

We needed some veggies, so Mark, Kat's sister's husband, asked if I could make a salad. I made Nigella Lawson's Cranberry, Feta, and Pecan Salad. I used about 3/4 of a 10 oz package of 50/50 spinach and baby greens, and used a cup of pecans that I roasted in the oven for a few minutes and it really gave the pecans a lovely, robust flavor. I absolutely love this salad and plan to make it again in the future as a main course meal. The notes in the recipe indicated it's good with either pork tenderloin or grilled chicken-yum!!

After eating, playing with Kat's niece and nephews, and hearty conversations with everyone, Kat, Mama Vellie, Theresa (Mark's sister) and I drove to Walmart to do a little Christmas shopping. I did get to take care of a few people on my list which is always nice!

What did you eat for Thanksgiving today? And, what's on your Christmas list?


Saturday, July 5, 2014

Fourth of July Recap-Feasting and Fun in GP!

Sooooo, Lynn Creek Park was a hot mess. We drove up to the area, only to wait about thirty minutes in a long line of cars who had the same idea we did to celebrate the fourth of July. We knew we'd be waiting at least another hour, so we scrapped that plan and headed right back to the apartment pool. And guess what, we had an even better time. The pool wasn't crowded and we had plenty of space to grill and relax. Here's our day captured in pictures, because you know what they say...a picture is worth a thousand words...so here goes!

~Lex